This post may contain affiliate links. Please read our disclosure policy.
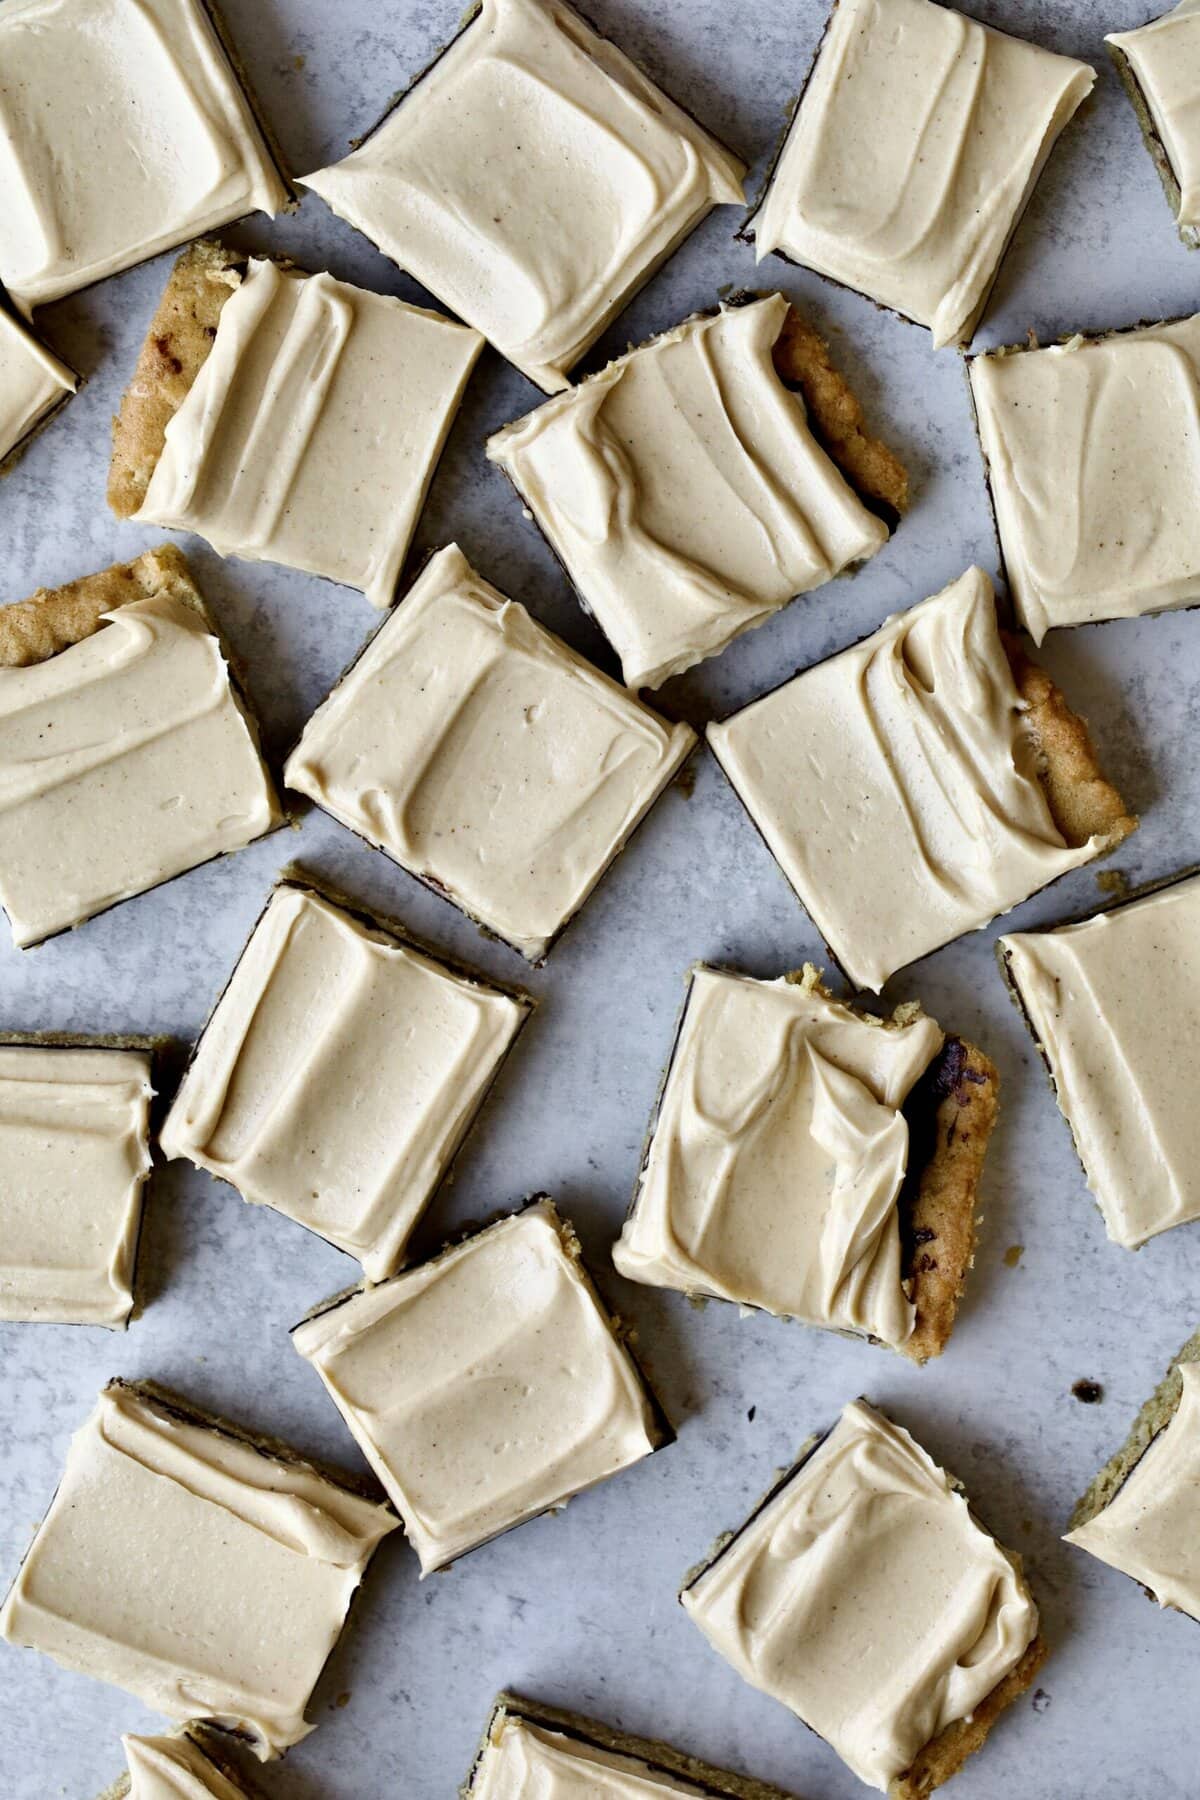
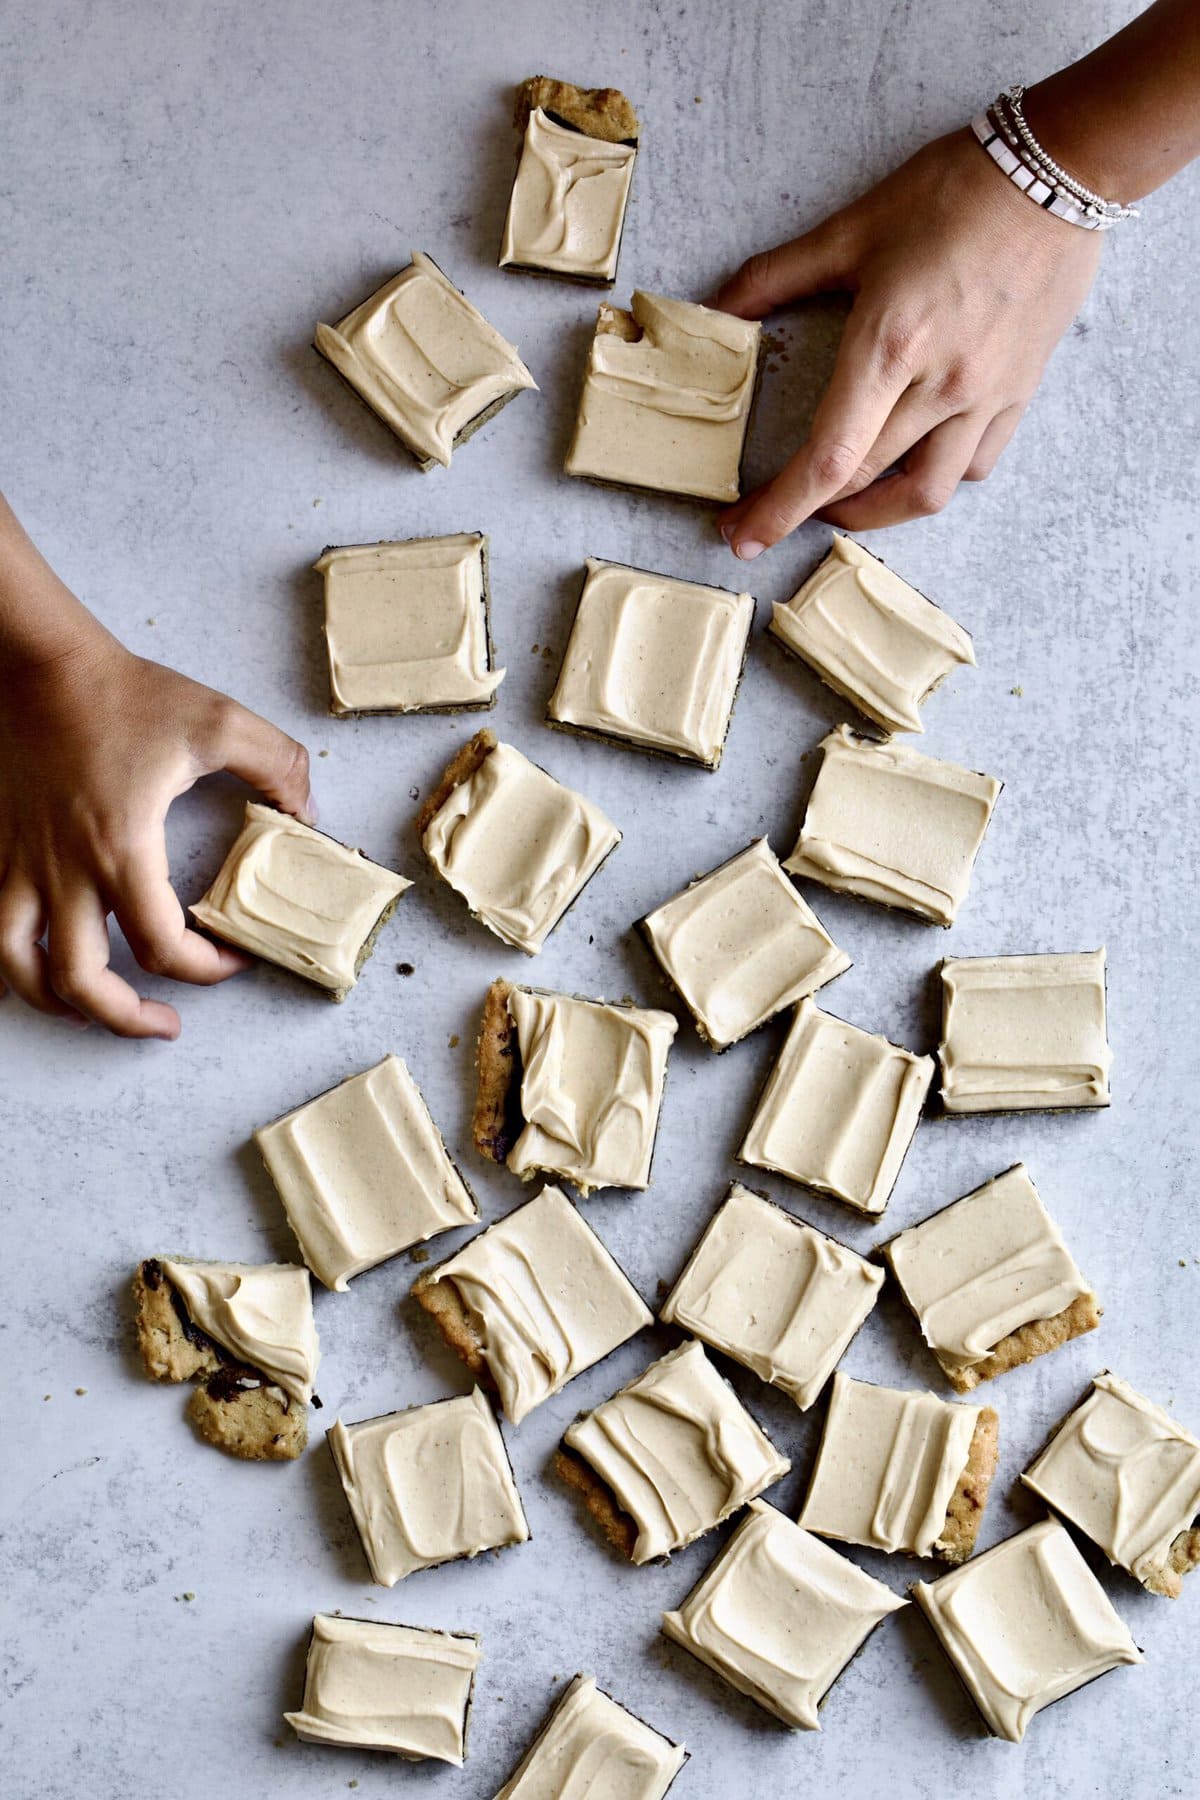
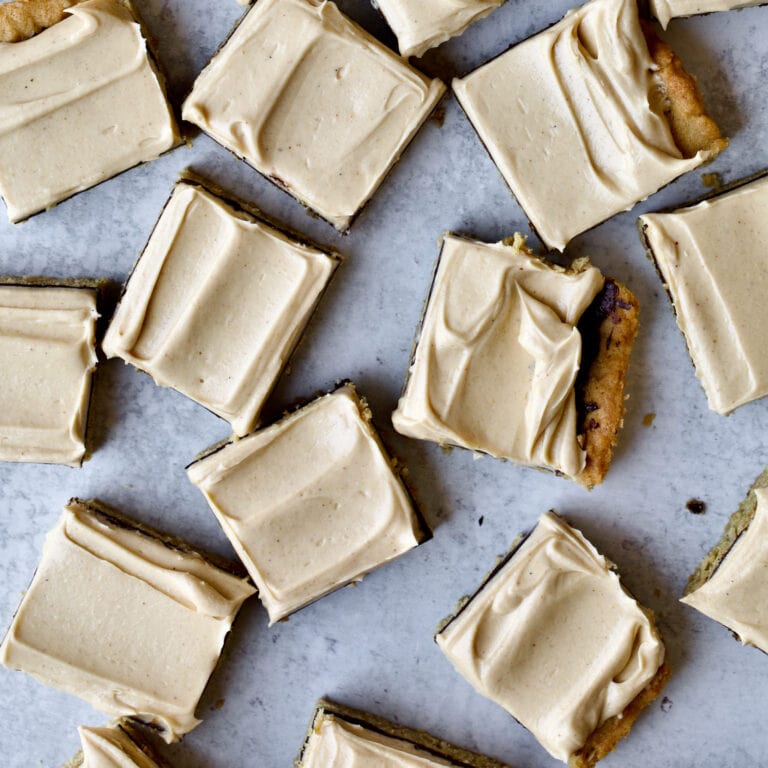
Peanut Butter Bars Recipe (School Cafeteria) just like you remember them from elementary school – only better! These peanut butter bars recipe have a soft, chewy peanut butter oatmeal cookie base, chocolate layer, topped with a super creamy peanut butter buttercream on top. These are the best peanut butter bars EVER!
These yummy nostalgic peanut butter bars are a classic favorite treat everyone loves!
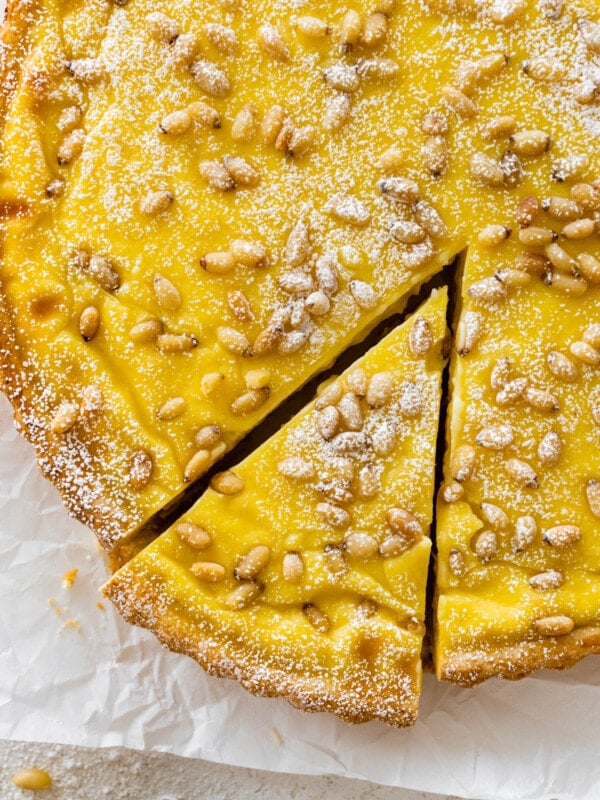
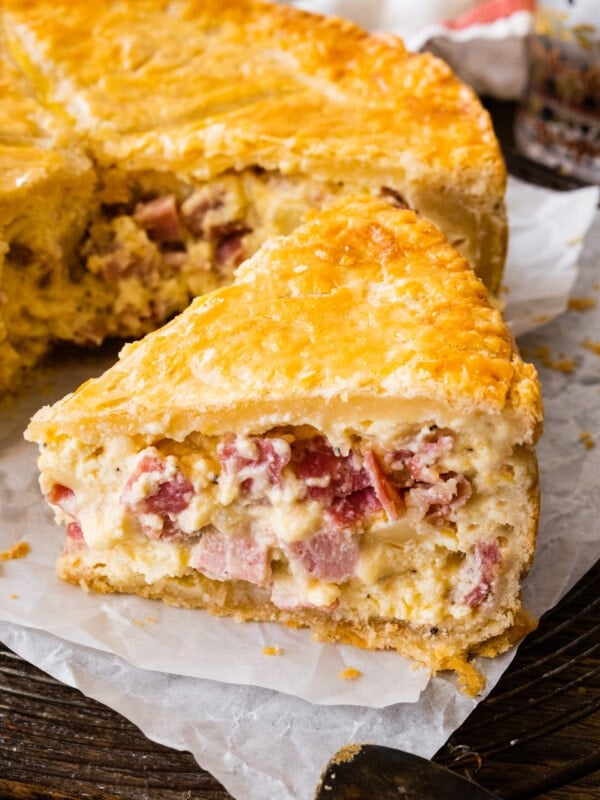
This famous peanut bar recipe is a Davis family recipe from Idaho, U.S.A (see bottom of post for story). Enjoy more Davis family favorites: Best Banana Cream Dream Pie (with homemade custard), Tried and True Best Cheesecake Recipe, Poppy Seed Cake with Orange Almond Vanilla Glaze, and BEST Authentic Swedish Pancake Recipe.
Famous Peanut Butter Bars
These peanut butter cookie bars are exactly like the famous school cafeteria bars they used to make in many American schools (elementary and high school)- but better! It’s the perfect after school snack, or pack them for lunch since the lunch ladies don’t make these in the school cafeteria any more!
I love that these Lunch Lady Peanut Butter Bars can feed a crowd and I usually have all the ingredients on hand so if I ever need to make a treat at the last minute, these are my go-to recipe.
Table of Contents
- Famous Peanut Butter Bars
- Simple Ingredients
- Cookie Layer
- Frosting + Chocolate Layer
- How to make School Cafeteria Peanut Butter Bars Recipe Step by Step
- Variations
- Substitutions
- How to Store
- Peanut Butter Bars Story
- Best Peanut Butter Bars Recipe
- Top Tips
- Peanut Butter Bars Recipe (School Cafeteria) Recipe
Simple Ingredients
Cookie Layer

- Butter, softened (unsalted butter or salted based on preference)
- Granulated sugar
- Peanut butter
- Eggs, room temperature
- Vanilla extract
- All purpose flour
- Salt
- Baking soda
- Rolled oats
Frosting + Chocolate Layer
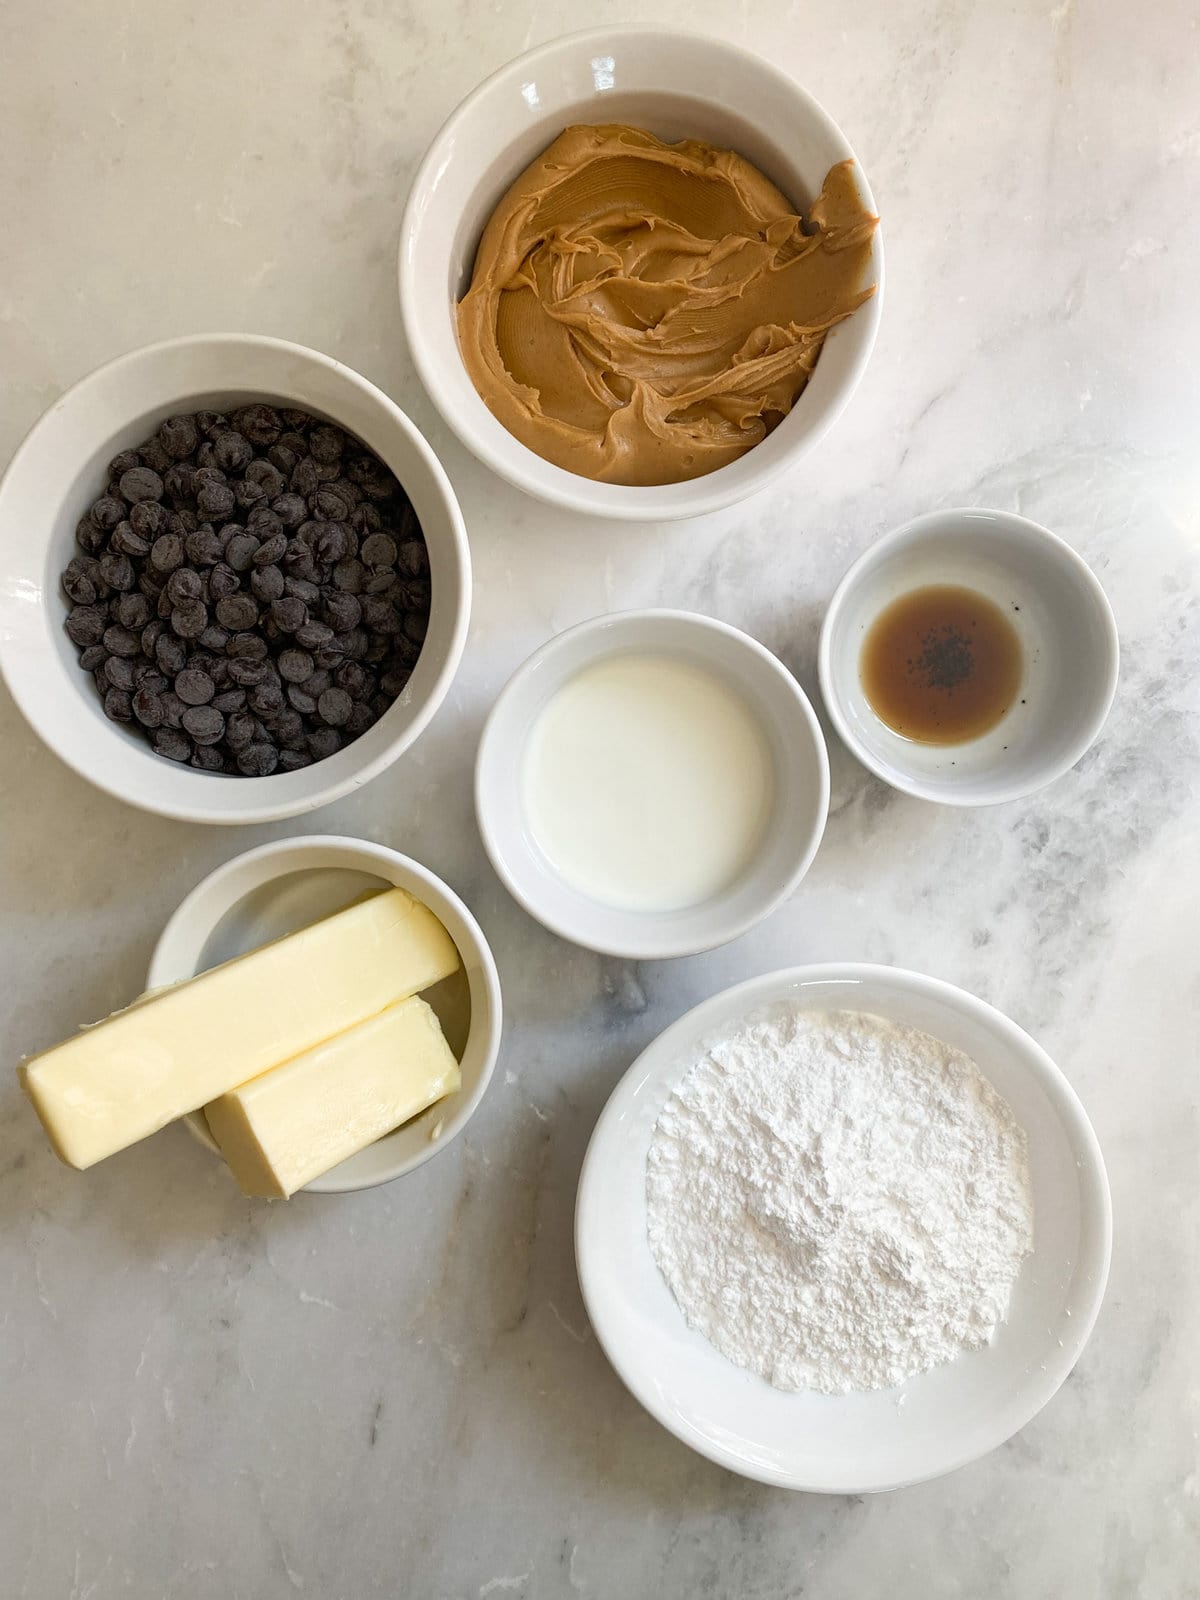
Chocolate Layer:
- Semi sweet chocolate chips
Frosting Layer:
- Powdered sugar
- Smooth peanut butter
- Butter, softened
- Vanilla extract
- Milk
See recipe card for quantities.
How to make School Cafeteria Peanut Butter Bars Recipe Step by Step
These Peanut Butter Bars are so easy to make, but be warned. Once you have one, you’ll have to have another, and another, and possibly half a pan! Don’t say I didn’t warn you.
Preheat oven to 375 degrees f. Grease a
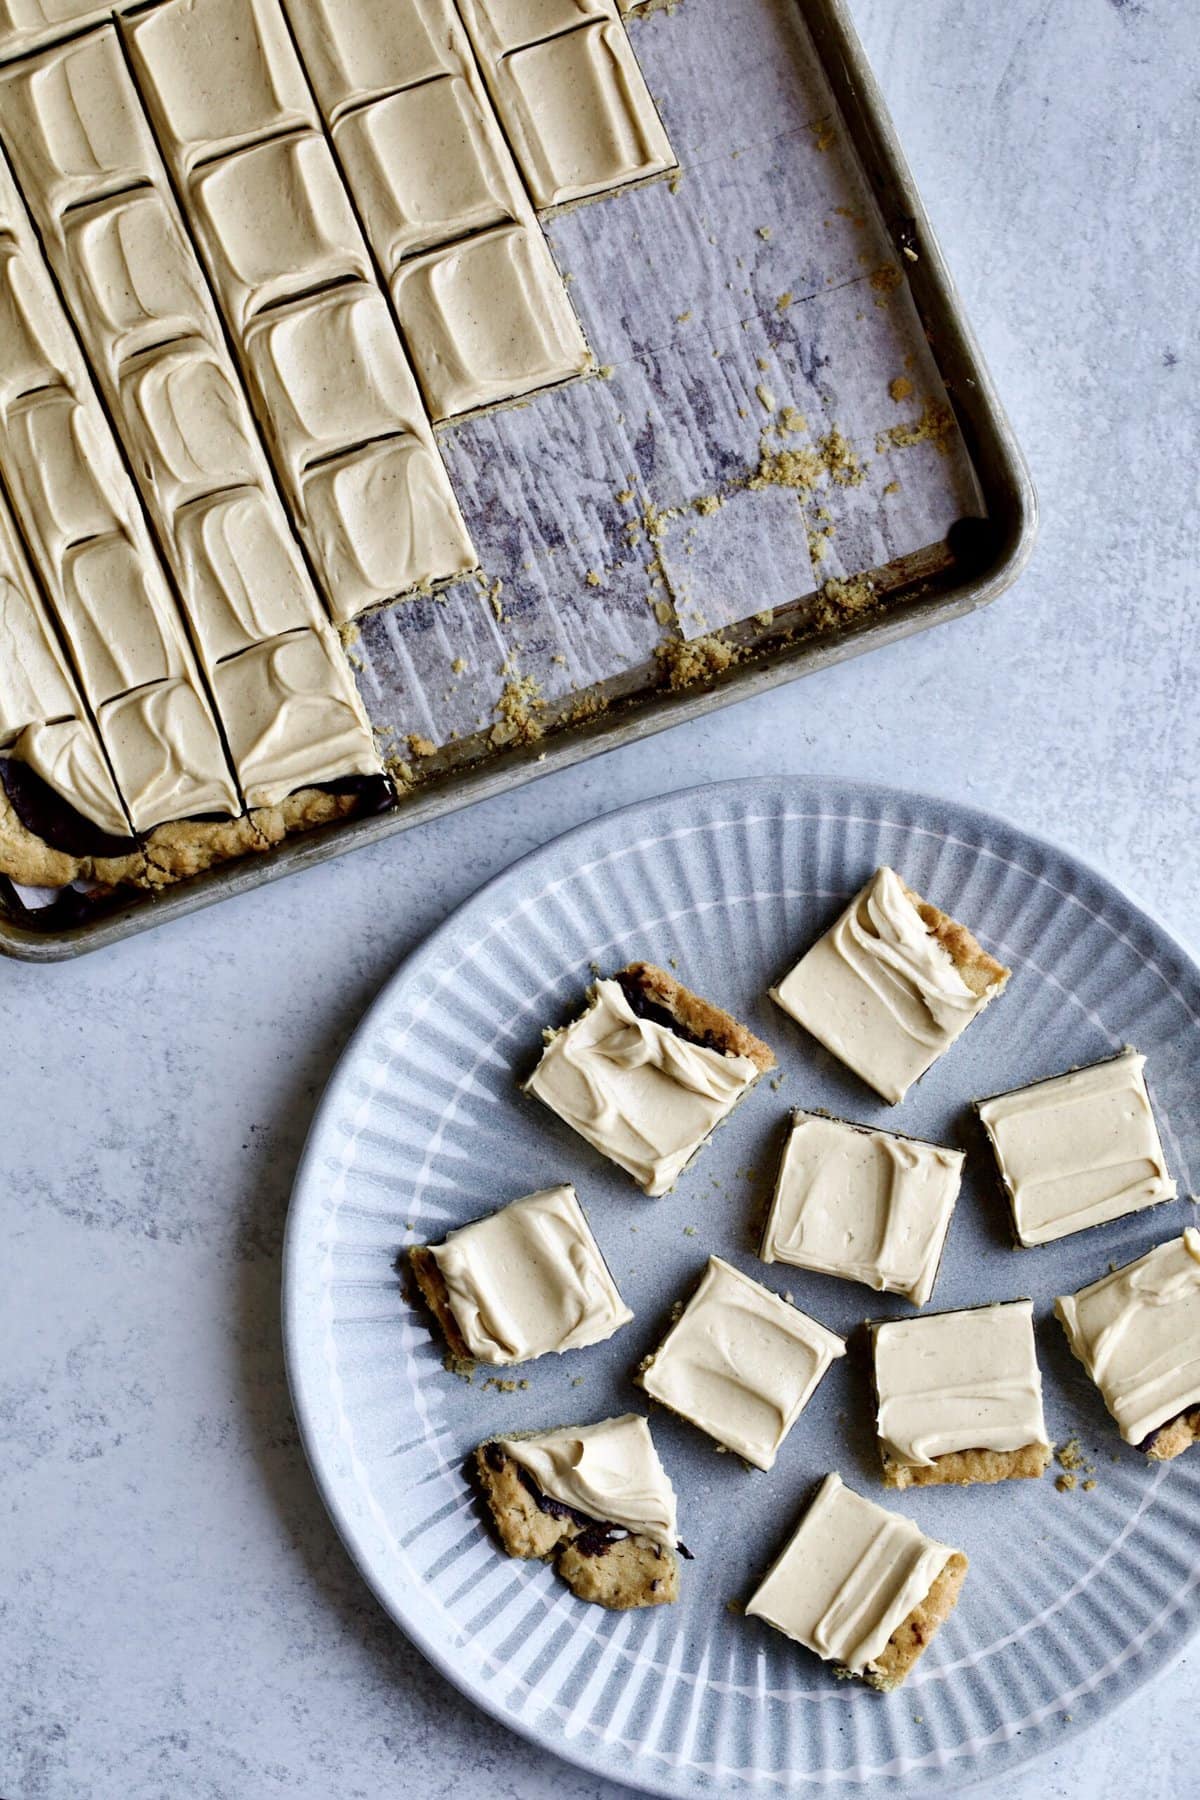
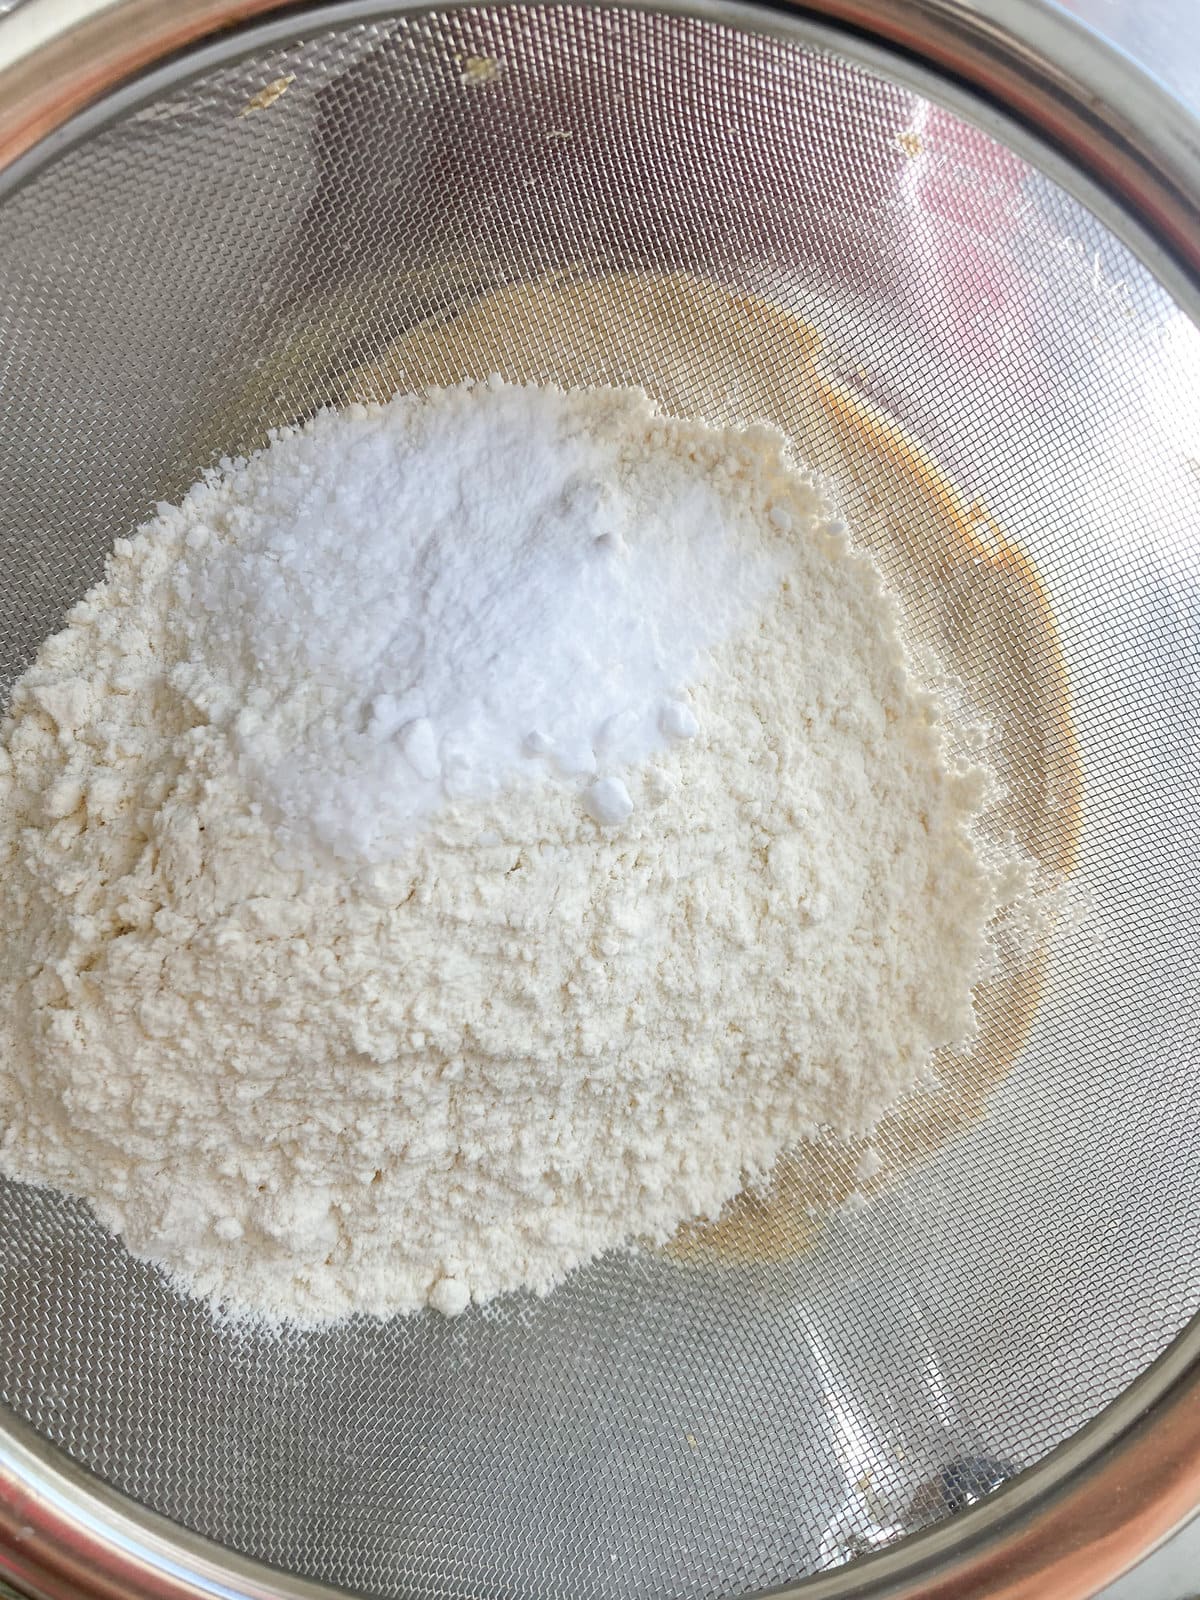
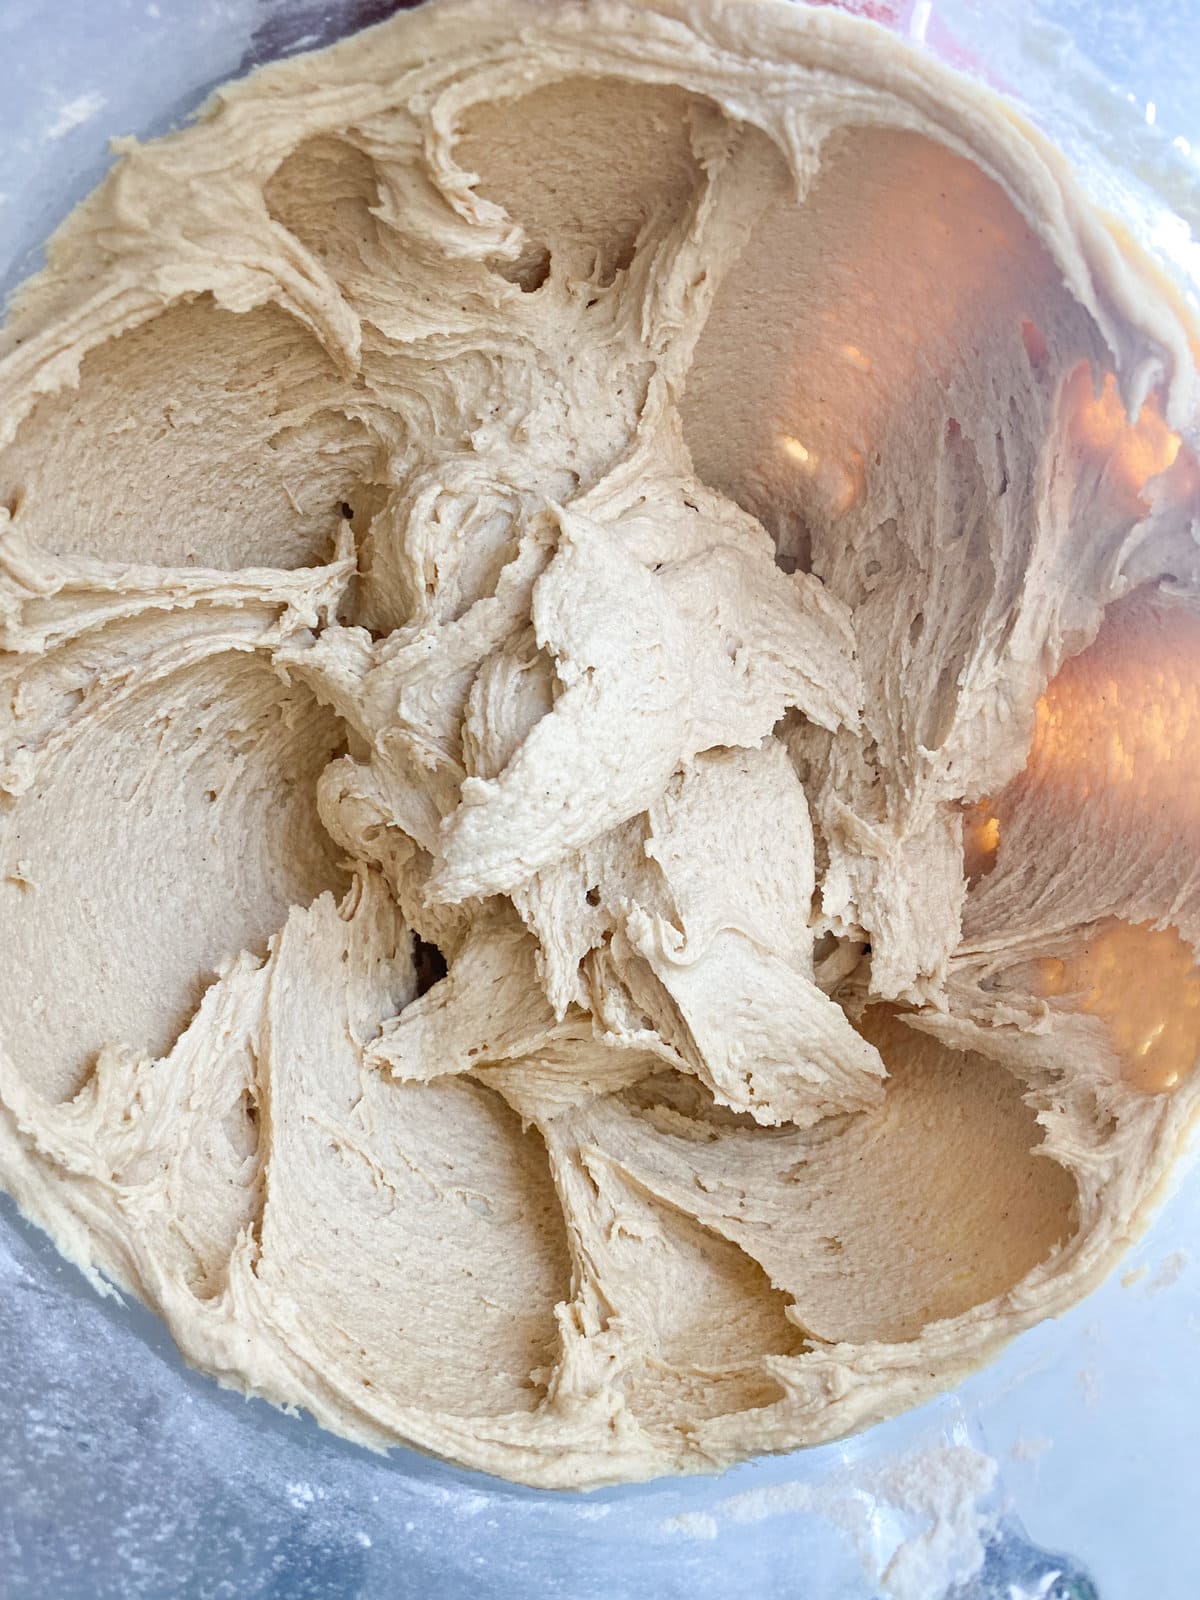
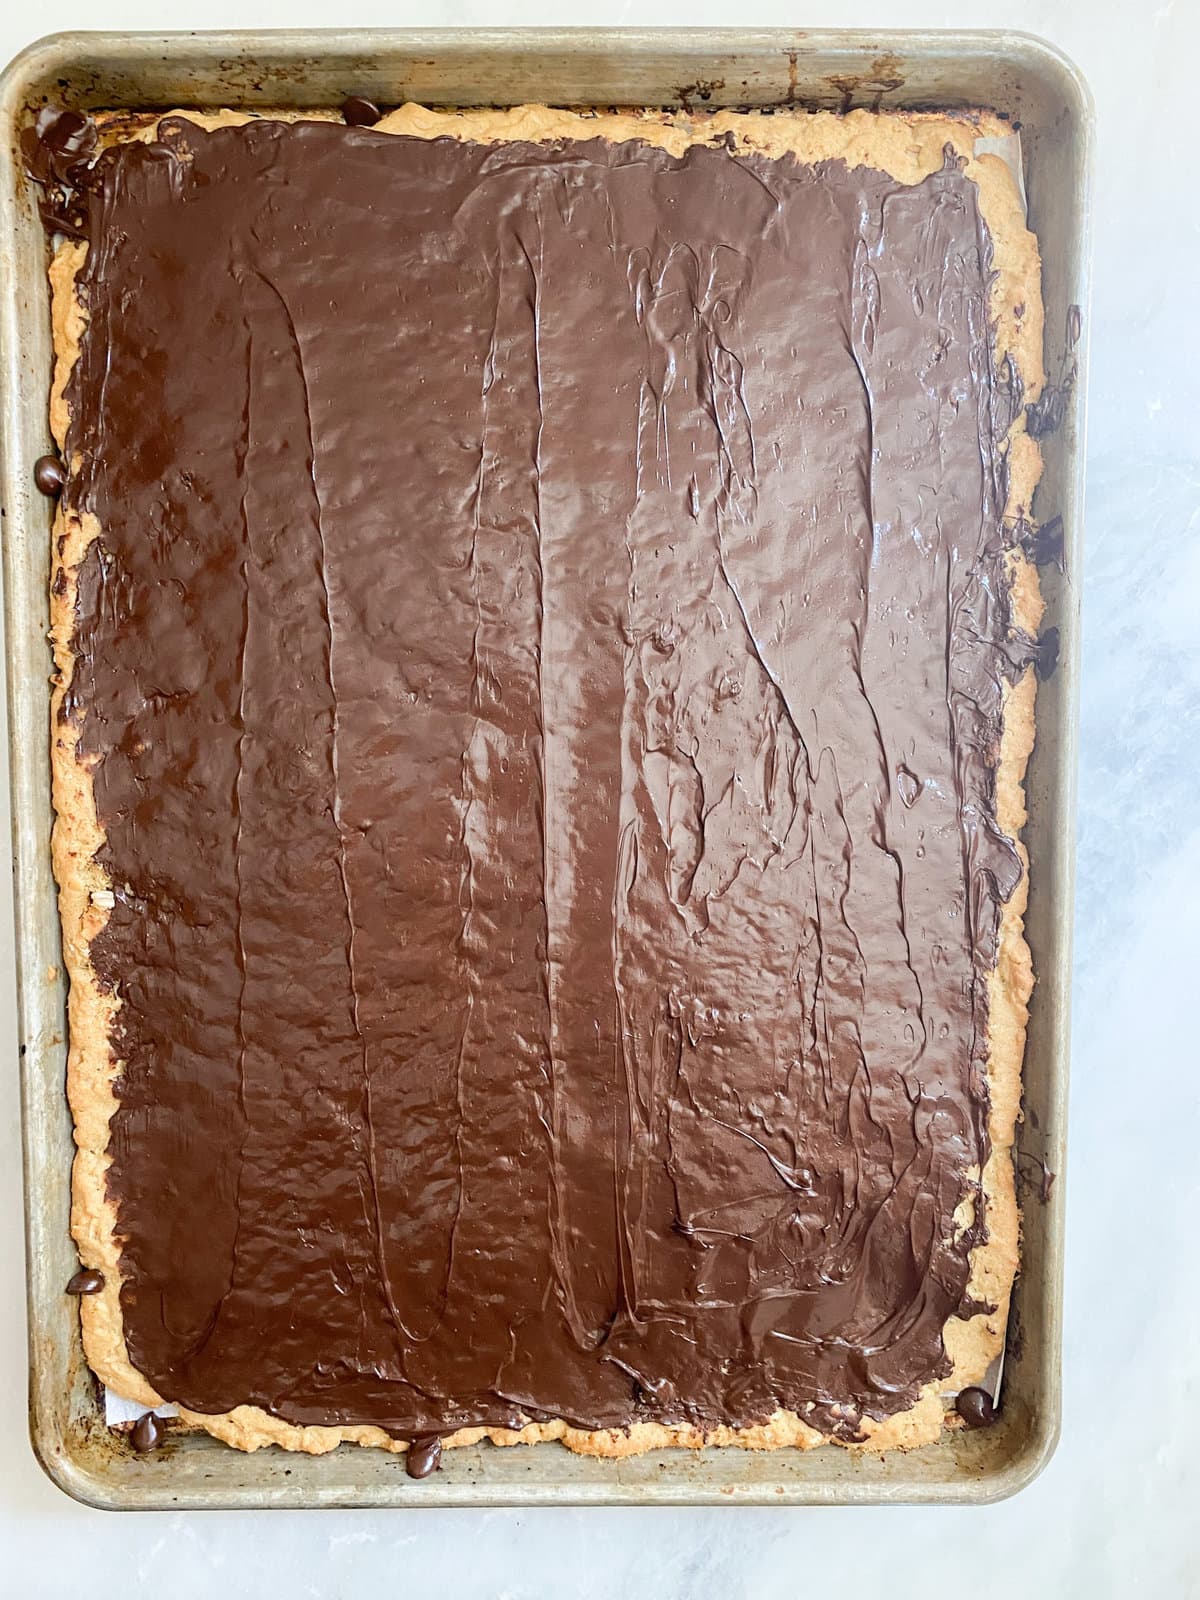
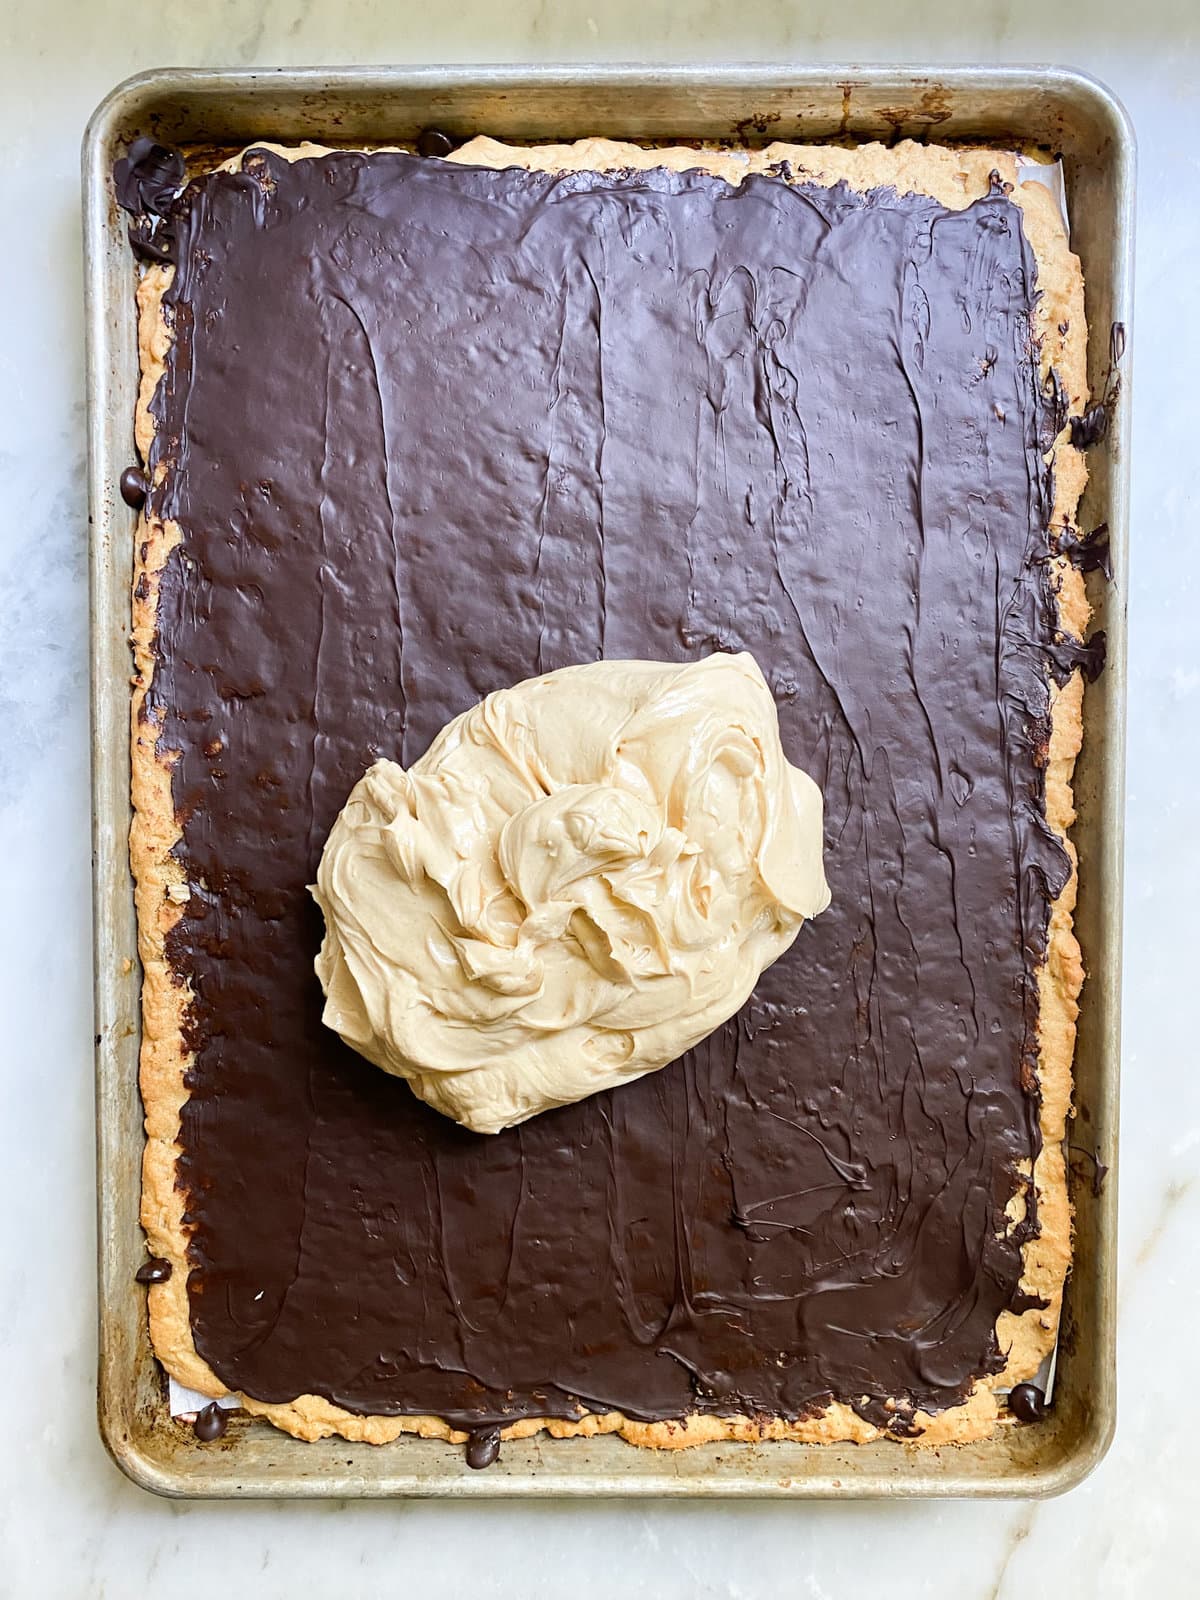
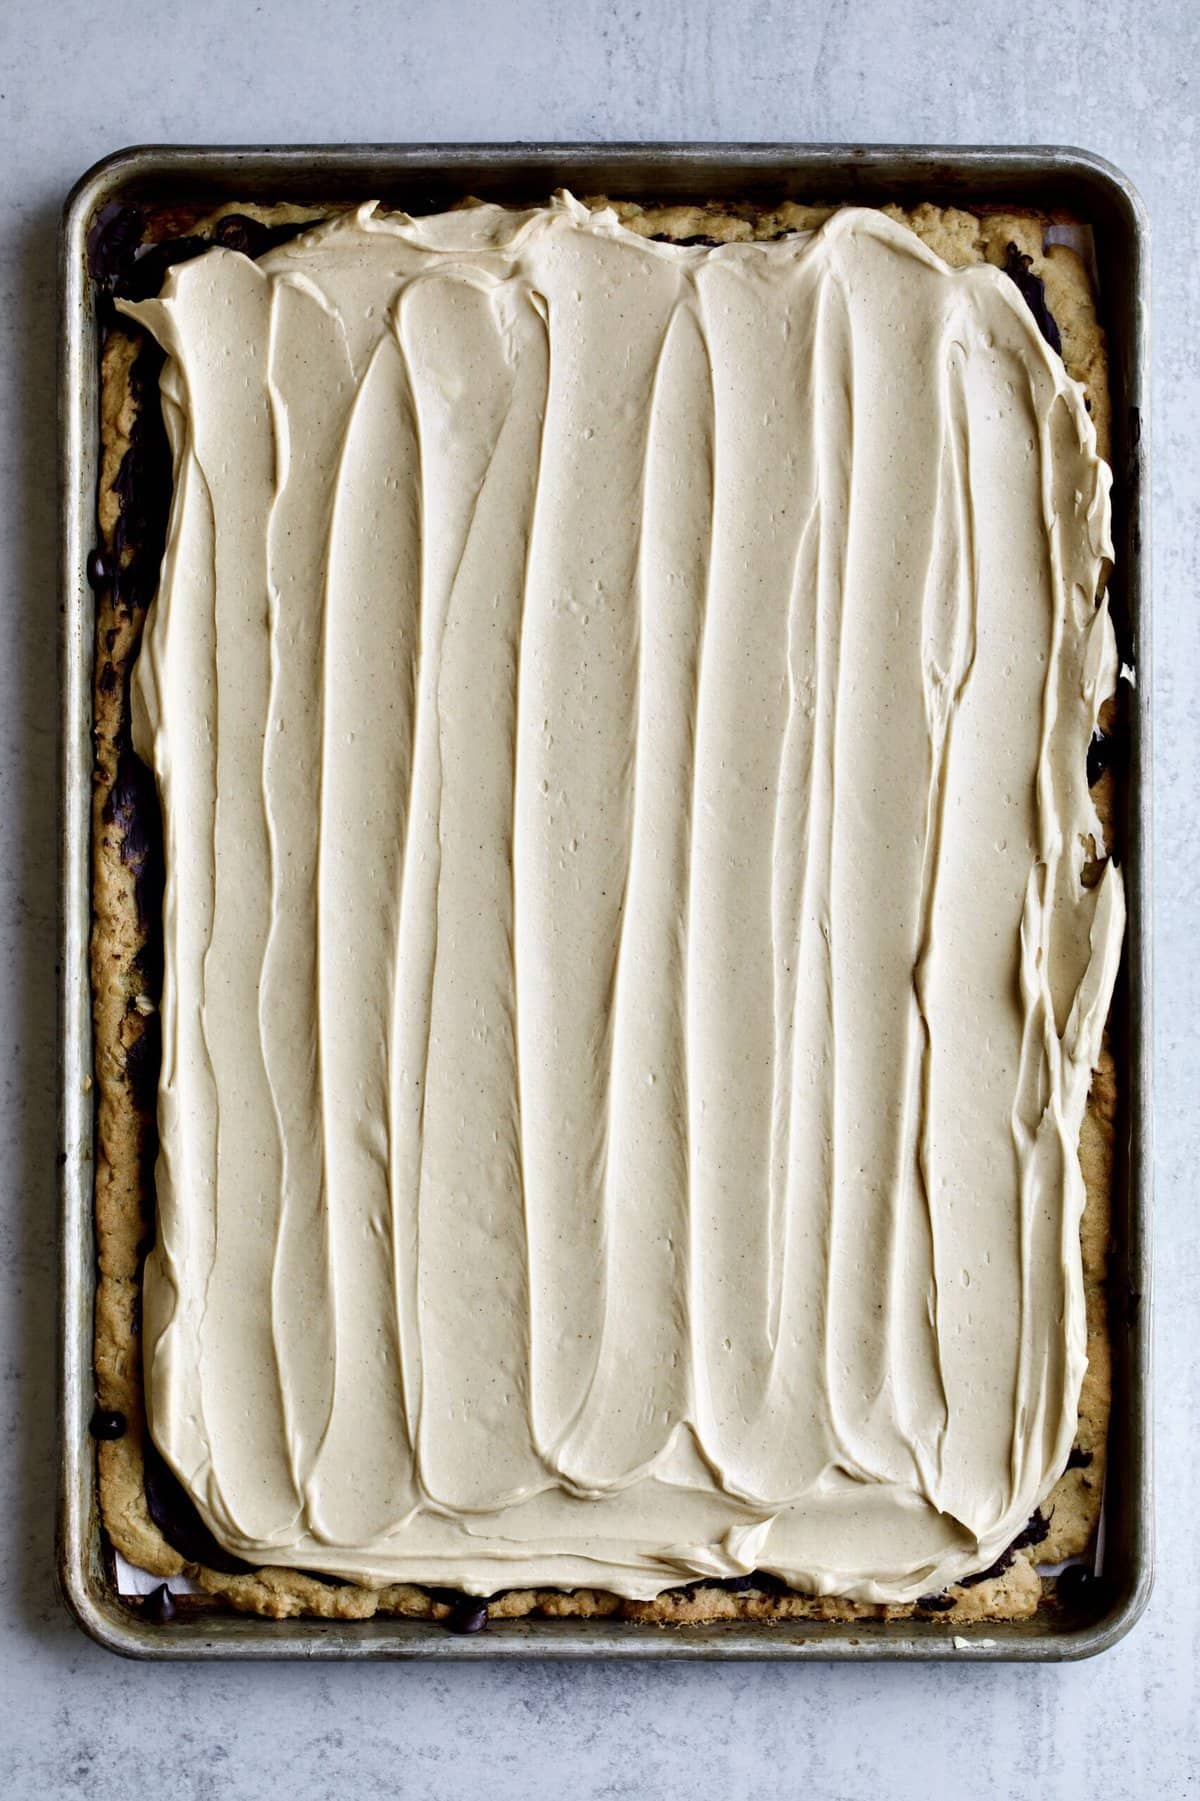
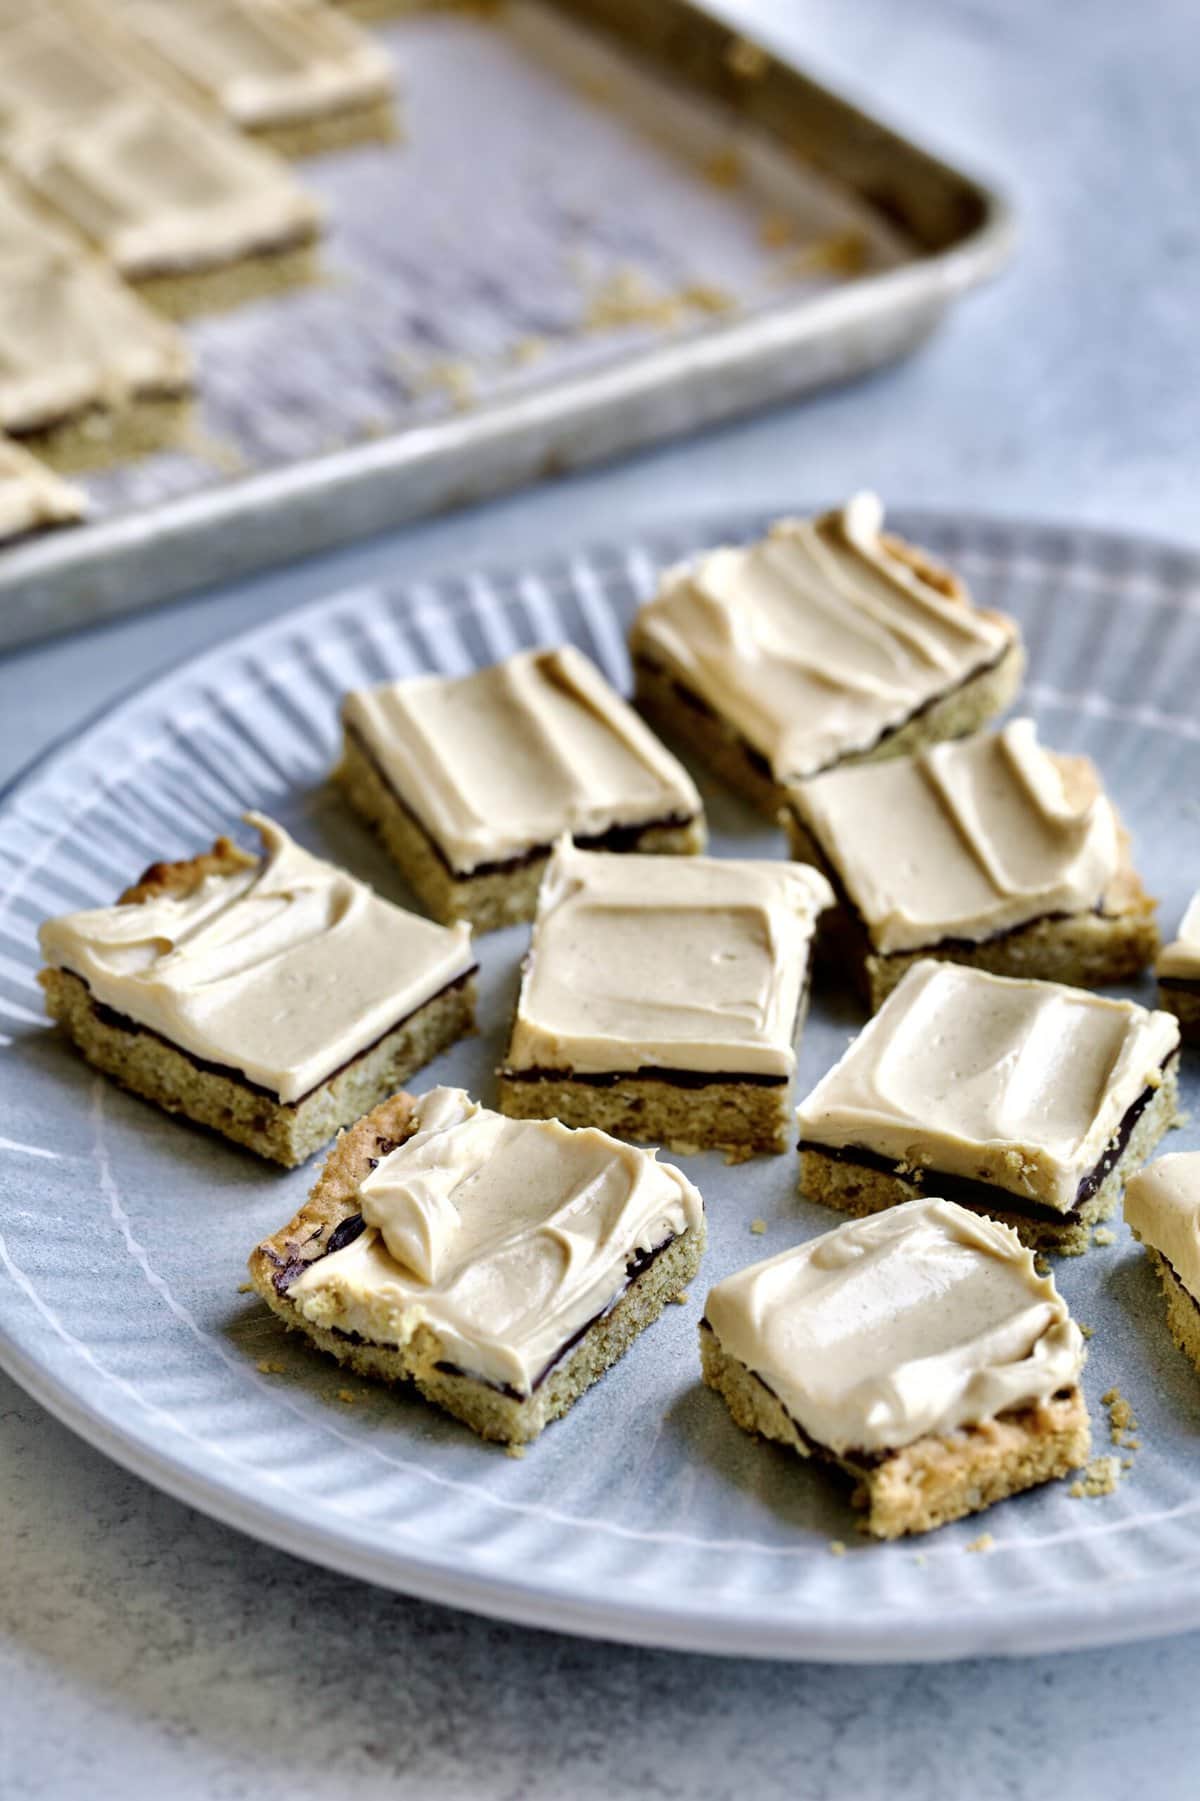
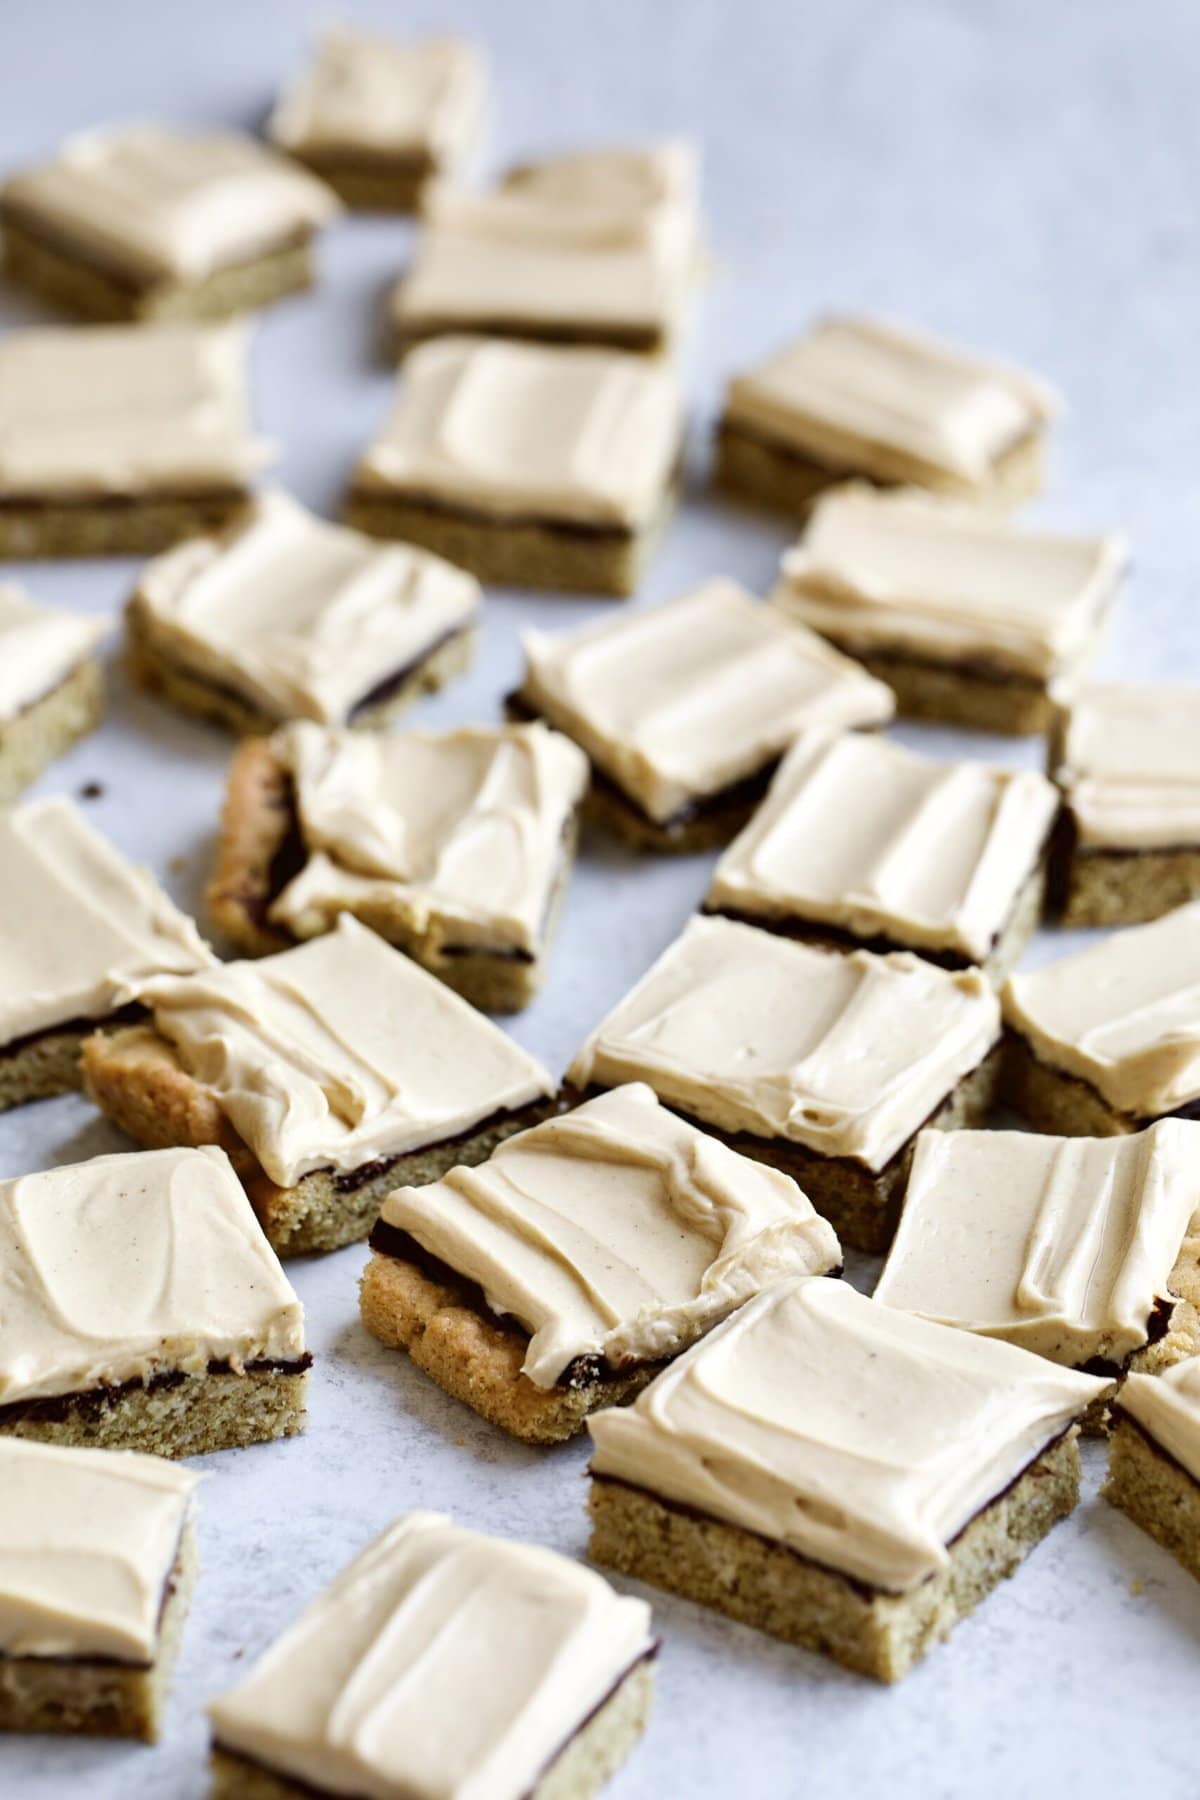
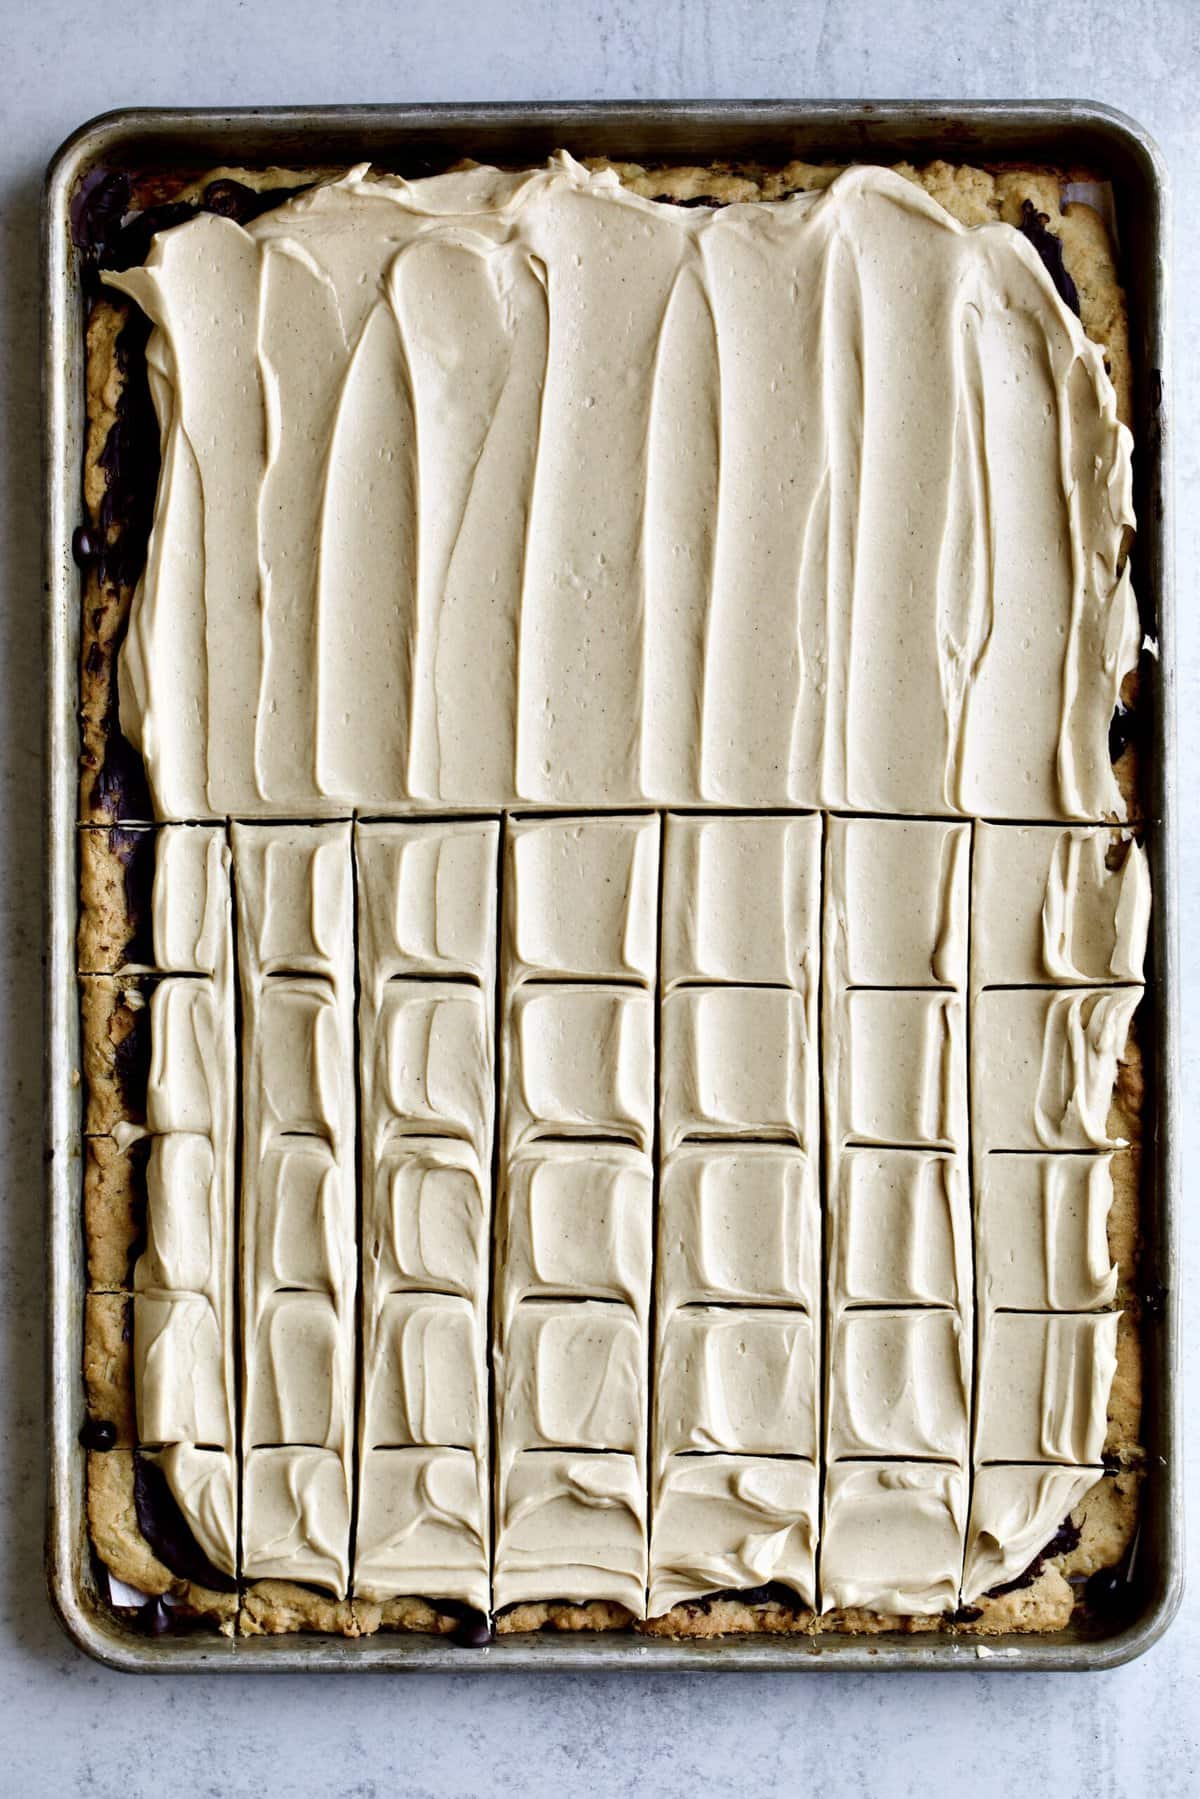
Wet ingredients: In a large bowl cream together on medium speed (using hand or stand mixer): butter, sugar, peanut butter, eggs and vanilla until light and fluffy. Dry ingredients: Sift in flour, salt, baking soda to the creamed mixture. HINT: I like to sift int the dry ingredients over the top of the wet ingredient bowl for easier clean-up. You can also Mix the flour mixture well to combine with wet ingredients, scraping down the sides of the bowl once half way through mixing. Add oats. Mix together until combined (cookie dough texture). Press the dough onto the prepared baking pan sheet until it forms a uniform layer on the bottom of the pan. Bake at 375 F for about 10 minutes until slightly golden on top. Turn off the oven. Chocolate Layer: Sprinkle the chocolate chips on top of the cookie layer and place back in the warm oven (that is turned OFF) for 2 minutes. Take out the cookie sheet and spread the warm chocolate all over the surface of the cookie with a spatula or knife- creating a smooth thin layer. Place in fridge to let chocolate layer harden a bit. Peanut Butter Frosting Layer: In a medium mixing bowl cream together (using hand or stand mixer) the powdered sugar, peanut butter, butter, vanilla and milk. The end result should be a uniform creamy peanut butter buttercream. With a spatula gently spread the frosting over the chocolate layer after the bars and chocolate have cooled completely. HINT: Make sure the chocolate layer is cooled completely before adding the peanut butter frosting layer. This original recipe with chewy peanut butter oatmeal cookie base will take you right down memory lane. It is the exact recipe my husbands grandmother made nearly 50 years ago! Want to make this gluten free? Just use gluten free flour and whole oats. No one will ever know! What can I use instead of peanut butter? If you have a peanut butter allergy, try them with cookie butter instead and I’m sure they would be delicious! Sugar variety. Dark brown sugar, golden brown sugar, or white sugar? What is better for the cookie layer? The original recipe only uses white sugar in the cookie layer. You can use a mixture of sugars to deepen the flavor and make the cookie layer more chewy if you prefer. This is one of the Davis family favorite desserts! My husband Jordan and his entire extended family grew up on these deliciously sweet, chocolatey, salty peanut buttery, chewy oat, and creamy frosting BARS! There is a debate in calling them peanut butter squares, bars, or fingers (that’s kind of a weird one?) depending on how they are cut. What is your vote and how would you prefer to cut and serve them? I like to cut them “imperfectly”, so there is a variety of size options. Sometimes you want a big middle piece and other times a smaller corner piece. You know what I mean? Back to the Peanut Butter Bars Recipe (School Cafeteria)– they are so dang good! I make a large tray and freeze them on paper plates and then zip lock bags to have on hand. We even love them frozen. These bars/squares/fingers are at EVERY Davis family gathering for a reason. When we get together with our Davis cousins Aunt Kathy bring them out after dinner. She serves them in a round flexible and durable plastic Tupperware with a secure lid, from the 1950’s, that we can’t find anywhere now a days! All hands fly for the corner pieces first and the rest is history. The tray is gone by the end of the evening. They will be when you make this recipe too- guaranteed! These peanut butter cookie bars are everyones favorite treat. This Peanut Butter Bars Recipe (School Cafeteria) is fool-proof and one of my go-to’s when I need something to whip up for a family get-together, birthday party, or a weekend treat! They truly are the best peanut butter bars of all time. More recipes you will love Make sure to leave a ⭐️star rating on the recipe card and comment below if you make the recipe. I love to connect with you through my recipes. I would love for you to tag me on Instagram @cucinabyelena so I can see your delicious Italian recipes. To get more ideas, follow me on Pinterest. Peanut Butter Bars Recipe (School Cafeteria) just like you remember them from elementary school – only better! These peanut butter bars recipe have a soft, chewy peanut butter oatmeal cookie base, chocolate layer, topped with a super creamy peanut butter buttercream on top. These are the best peanut butter bars EVER! Cookie Layer: Chocolate Layer: Frosting Layer:
Cookie Layer: Chocolate Layer: Peanut Butter Frosting Layer: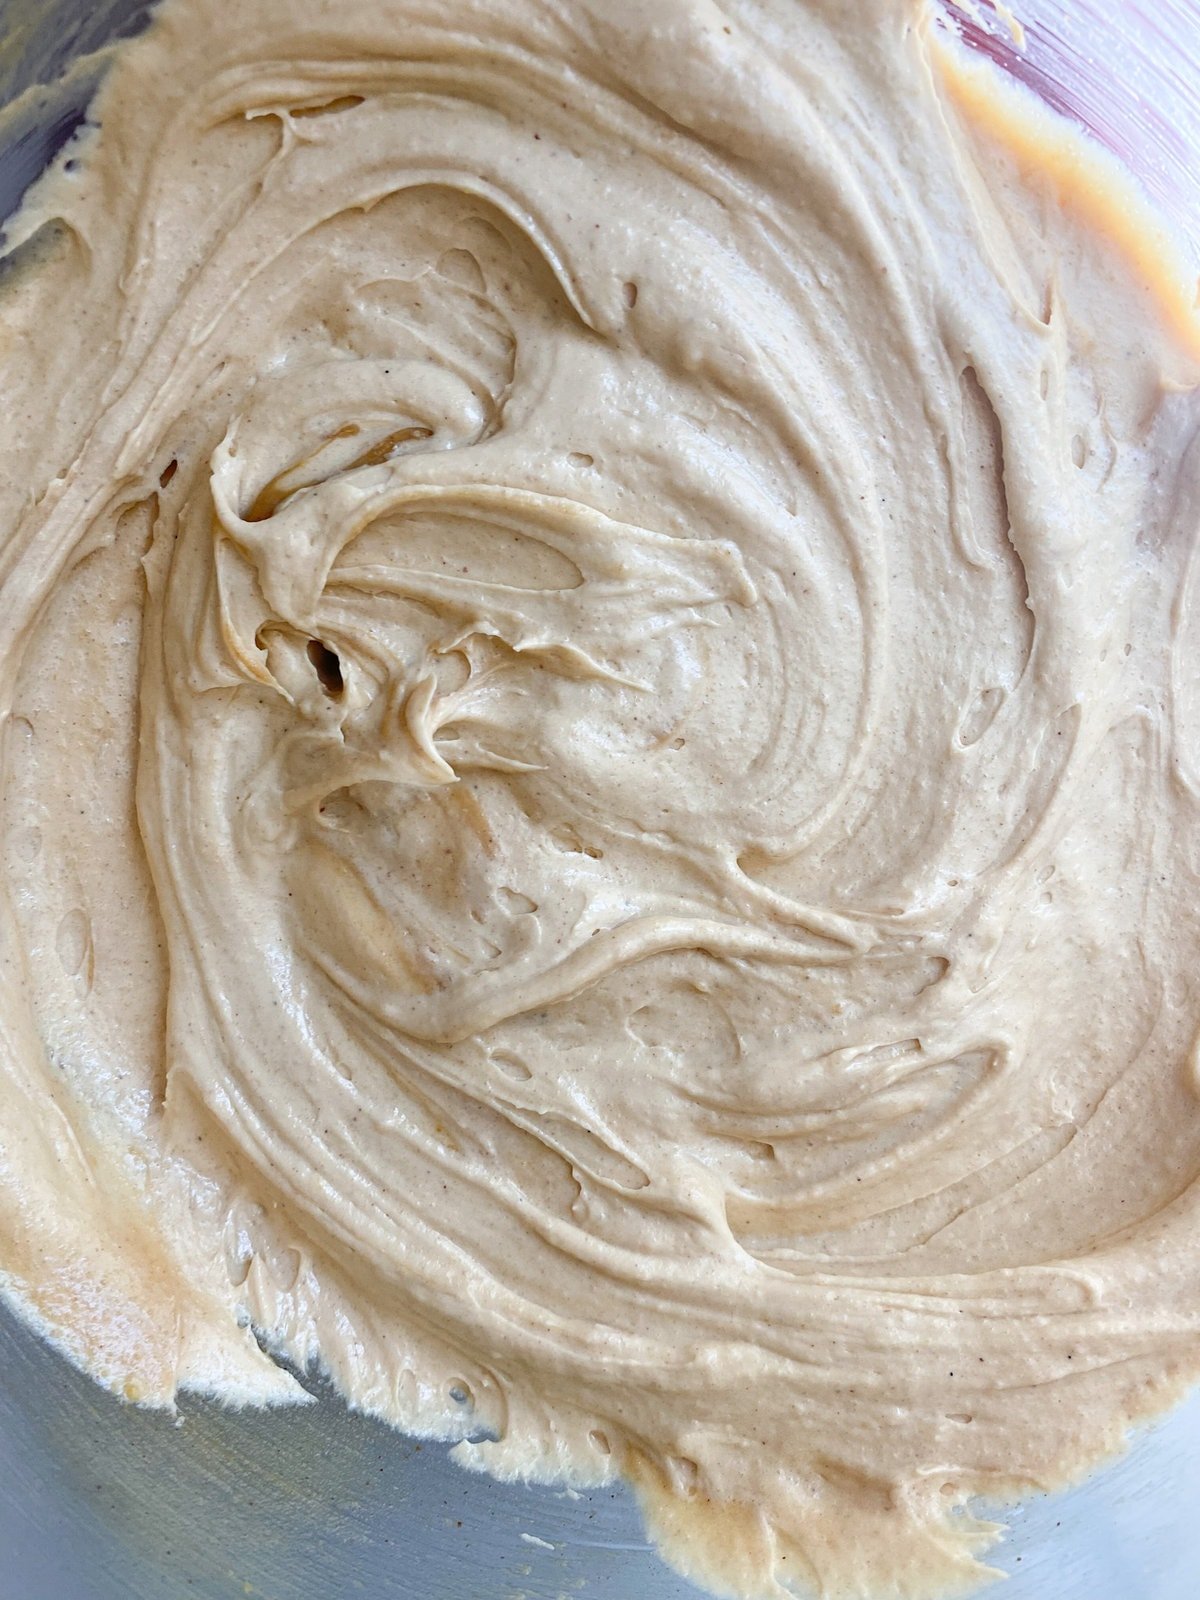

Variations
Substitutions
How to Store
Peanut Butter Bars Story
Best Peanut Butter Bars Recipe
Top Tips
Peanut Butter Bars Recipe (School Cafeteria)
Ingredients
Instructions
Notes
How to Store


I made this for a baptism gathering and it was the HIT of the party! It was so easy and delicious and just one batch is enough to feed a crowd!
This was hands down one of the best recipes I have made. Everyone was asking for the recipe. Delectable
So happy you loved it! We make it often in our home!
Since my husband has no dentures I should have pulsed the oats. But it was delicious.
Happy you enjoyed them anyway!